
| Qty | Description | Cost |
|---|---|---|
| 1 | Aluminium Round Bar (41.28mm x 500mm) | £24.00 |
| 1 | Aluminium Round Bar (57.15mm x 800mm) | £43.00 |
| 2 | Clear Acrylic Tube (50mm x 5mm x 500mm) | £22.00 |
| 5 | Light Emitting Fluorescent Acrylic Rod (Green) | £48.00 |
| 20 | M4 A2 Countersunk Allen Screw Bolt (40mm) | £3.00 |
| 60 | M4 A2 Countersunk Allen Screw Bolt (20mm) | £3.00 |
| 5 | 12V Battery Clip Holder | £12.00 |
| 5 | Latching push button switch | £10.00 |
| 5 | Ultra Bright 12V White LEDs (5mm) | £1.00 |
Optionally, use a large executive briefcase to store the vials (£25.00).
Total Cost: ≈ £166.00 (Enough material to produce 5 vials, possibly more.)
These vials are the result of an idea to introduce additional physical objects into airsoft scenarios, which went from a random sketch to the start production in less than one week. As per usual, this would be a trail and error based process, where the manufacturing was done by hand, resulting in the five vials taking around 8 hours each to produce.

After the initial ideas process, numerous technical diagrams were sketched out to ensure that the proposed parts could be contained and the correct items ordered prior to build.

Using only machinery available to us in the work shed, the first step was to work on the metal components for the bottom section using the 57.15mm diameter aluminium bar.

Ensuring that the 50mm acrylic tube would fit accurately was next, along with creating a prototype for the bottom face to encapsulate the wiring.
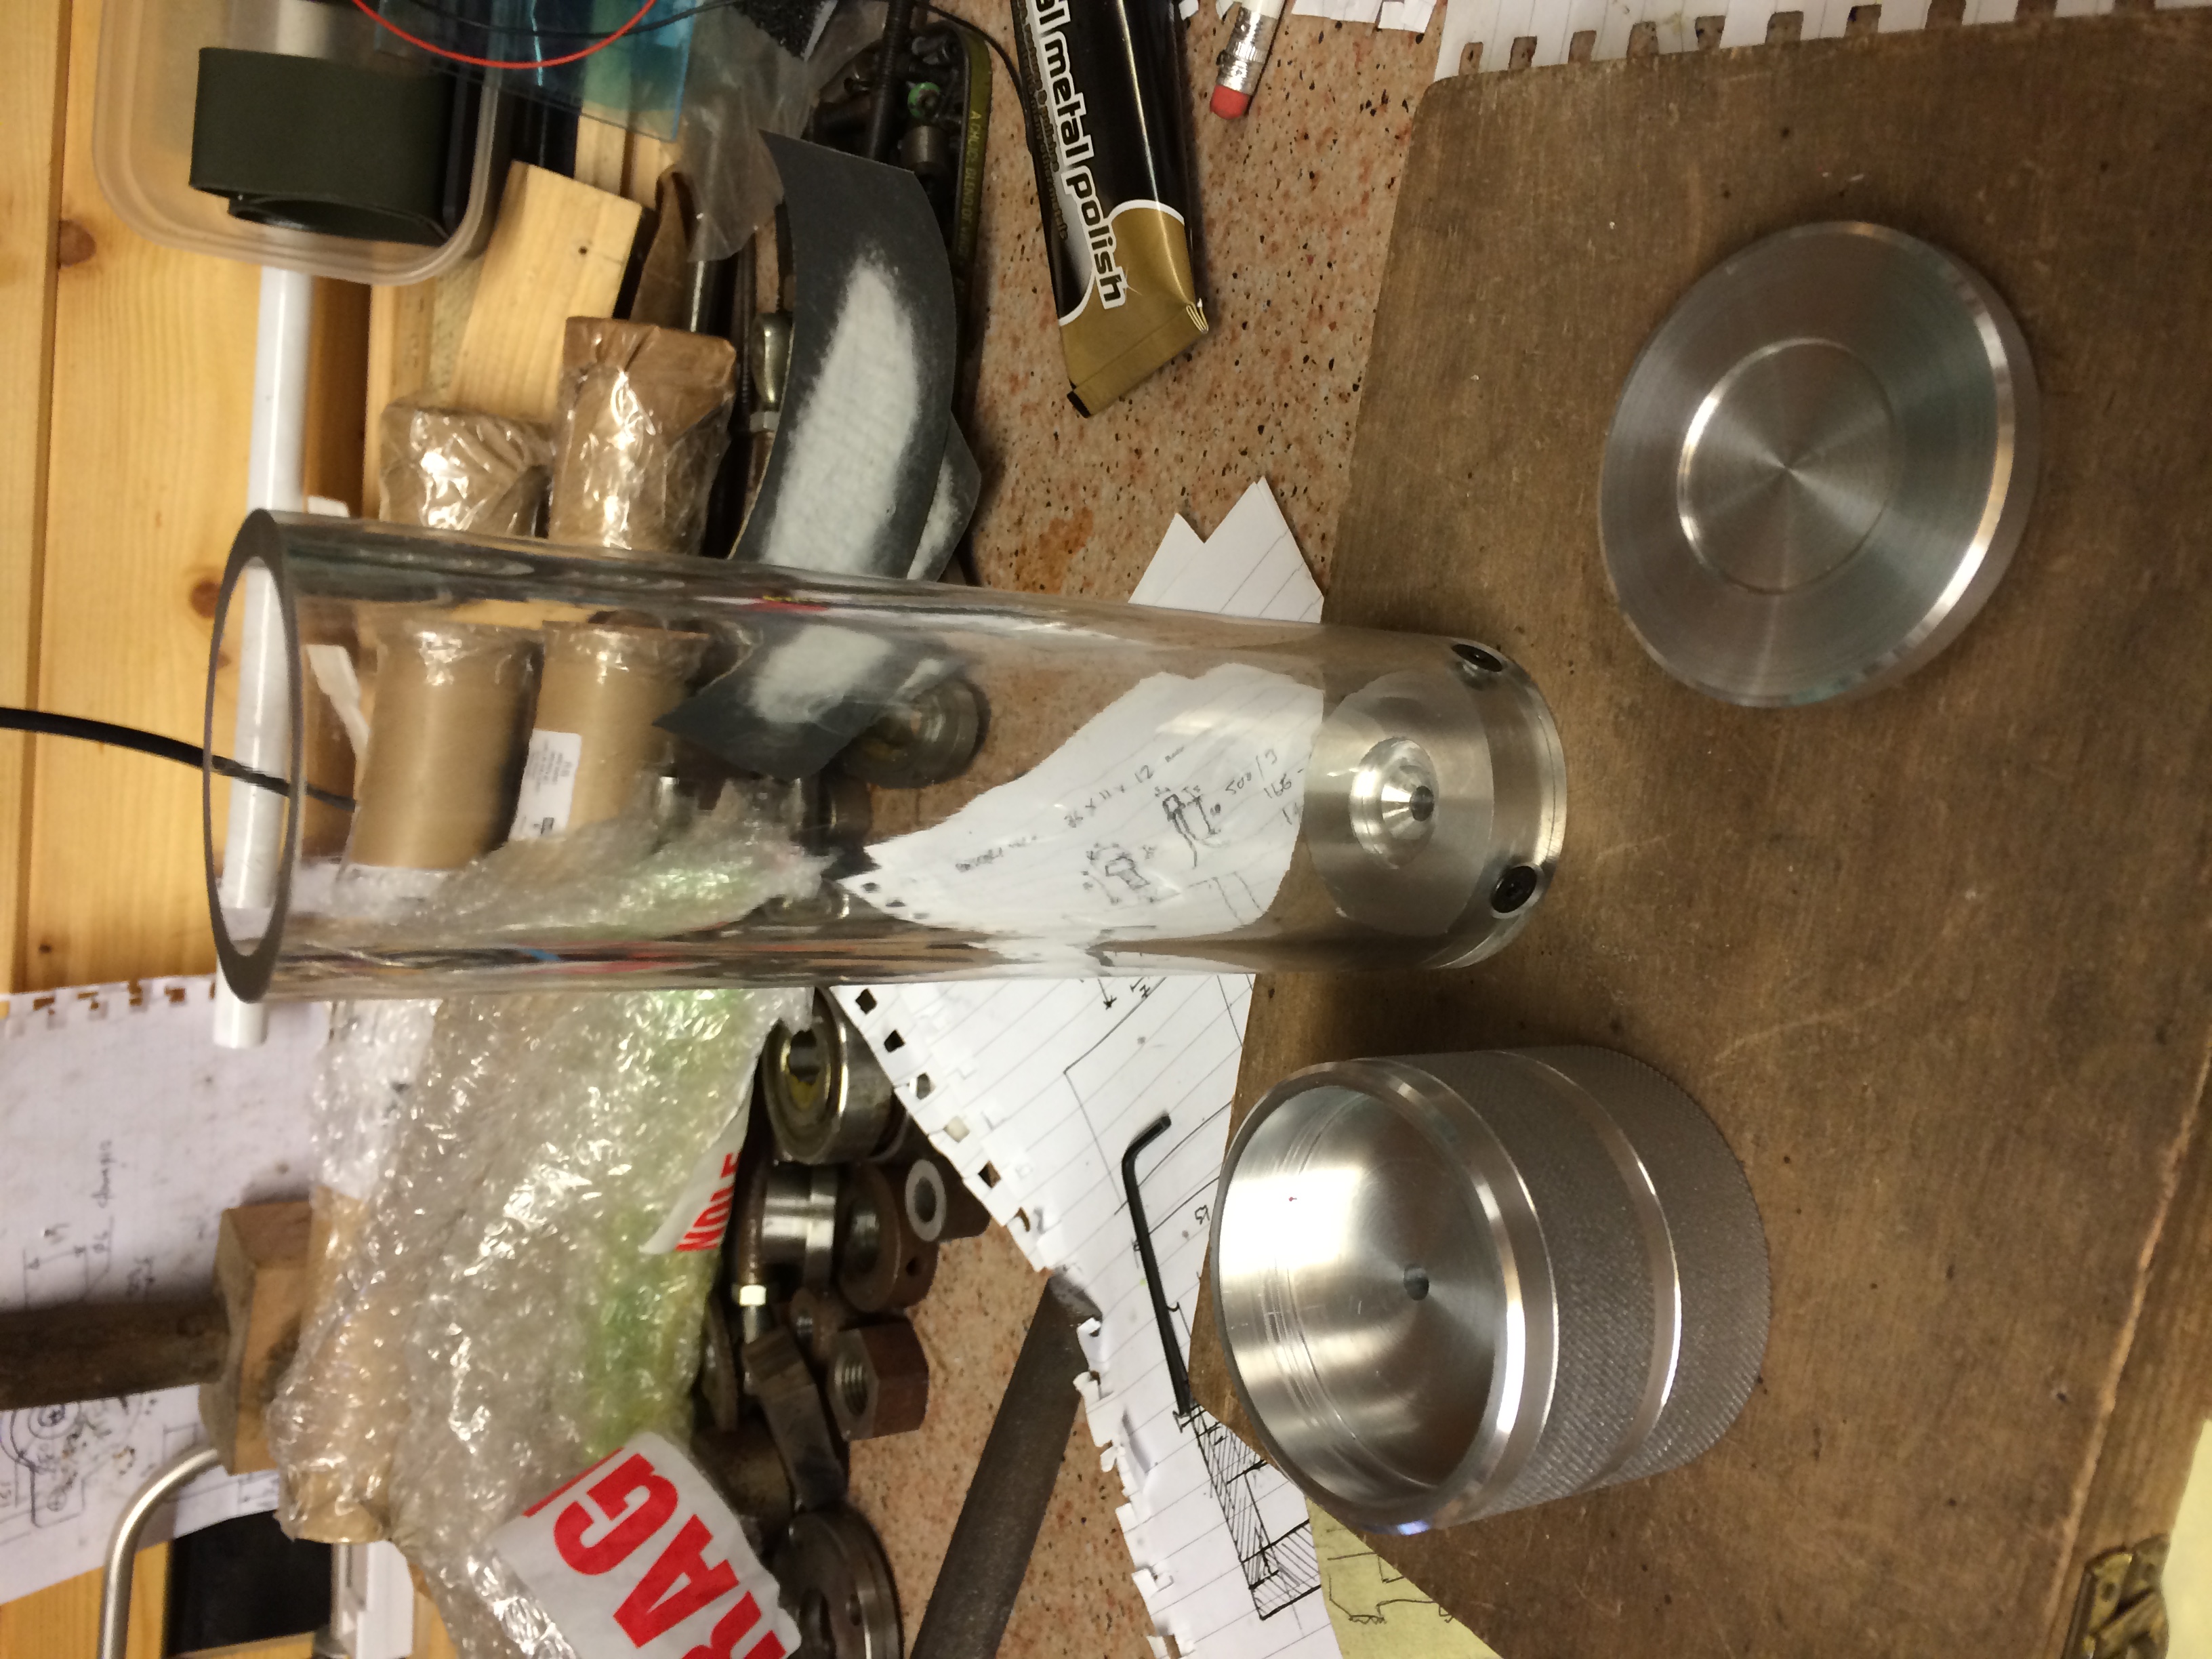
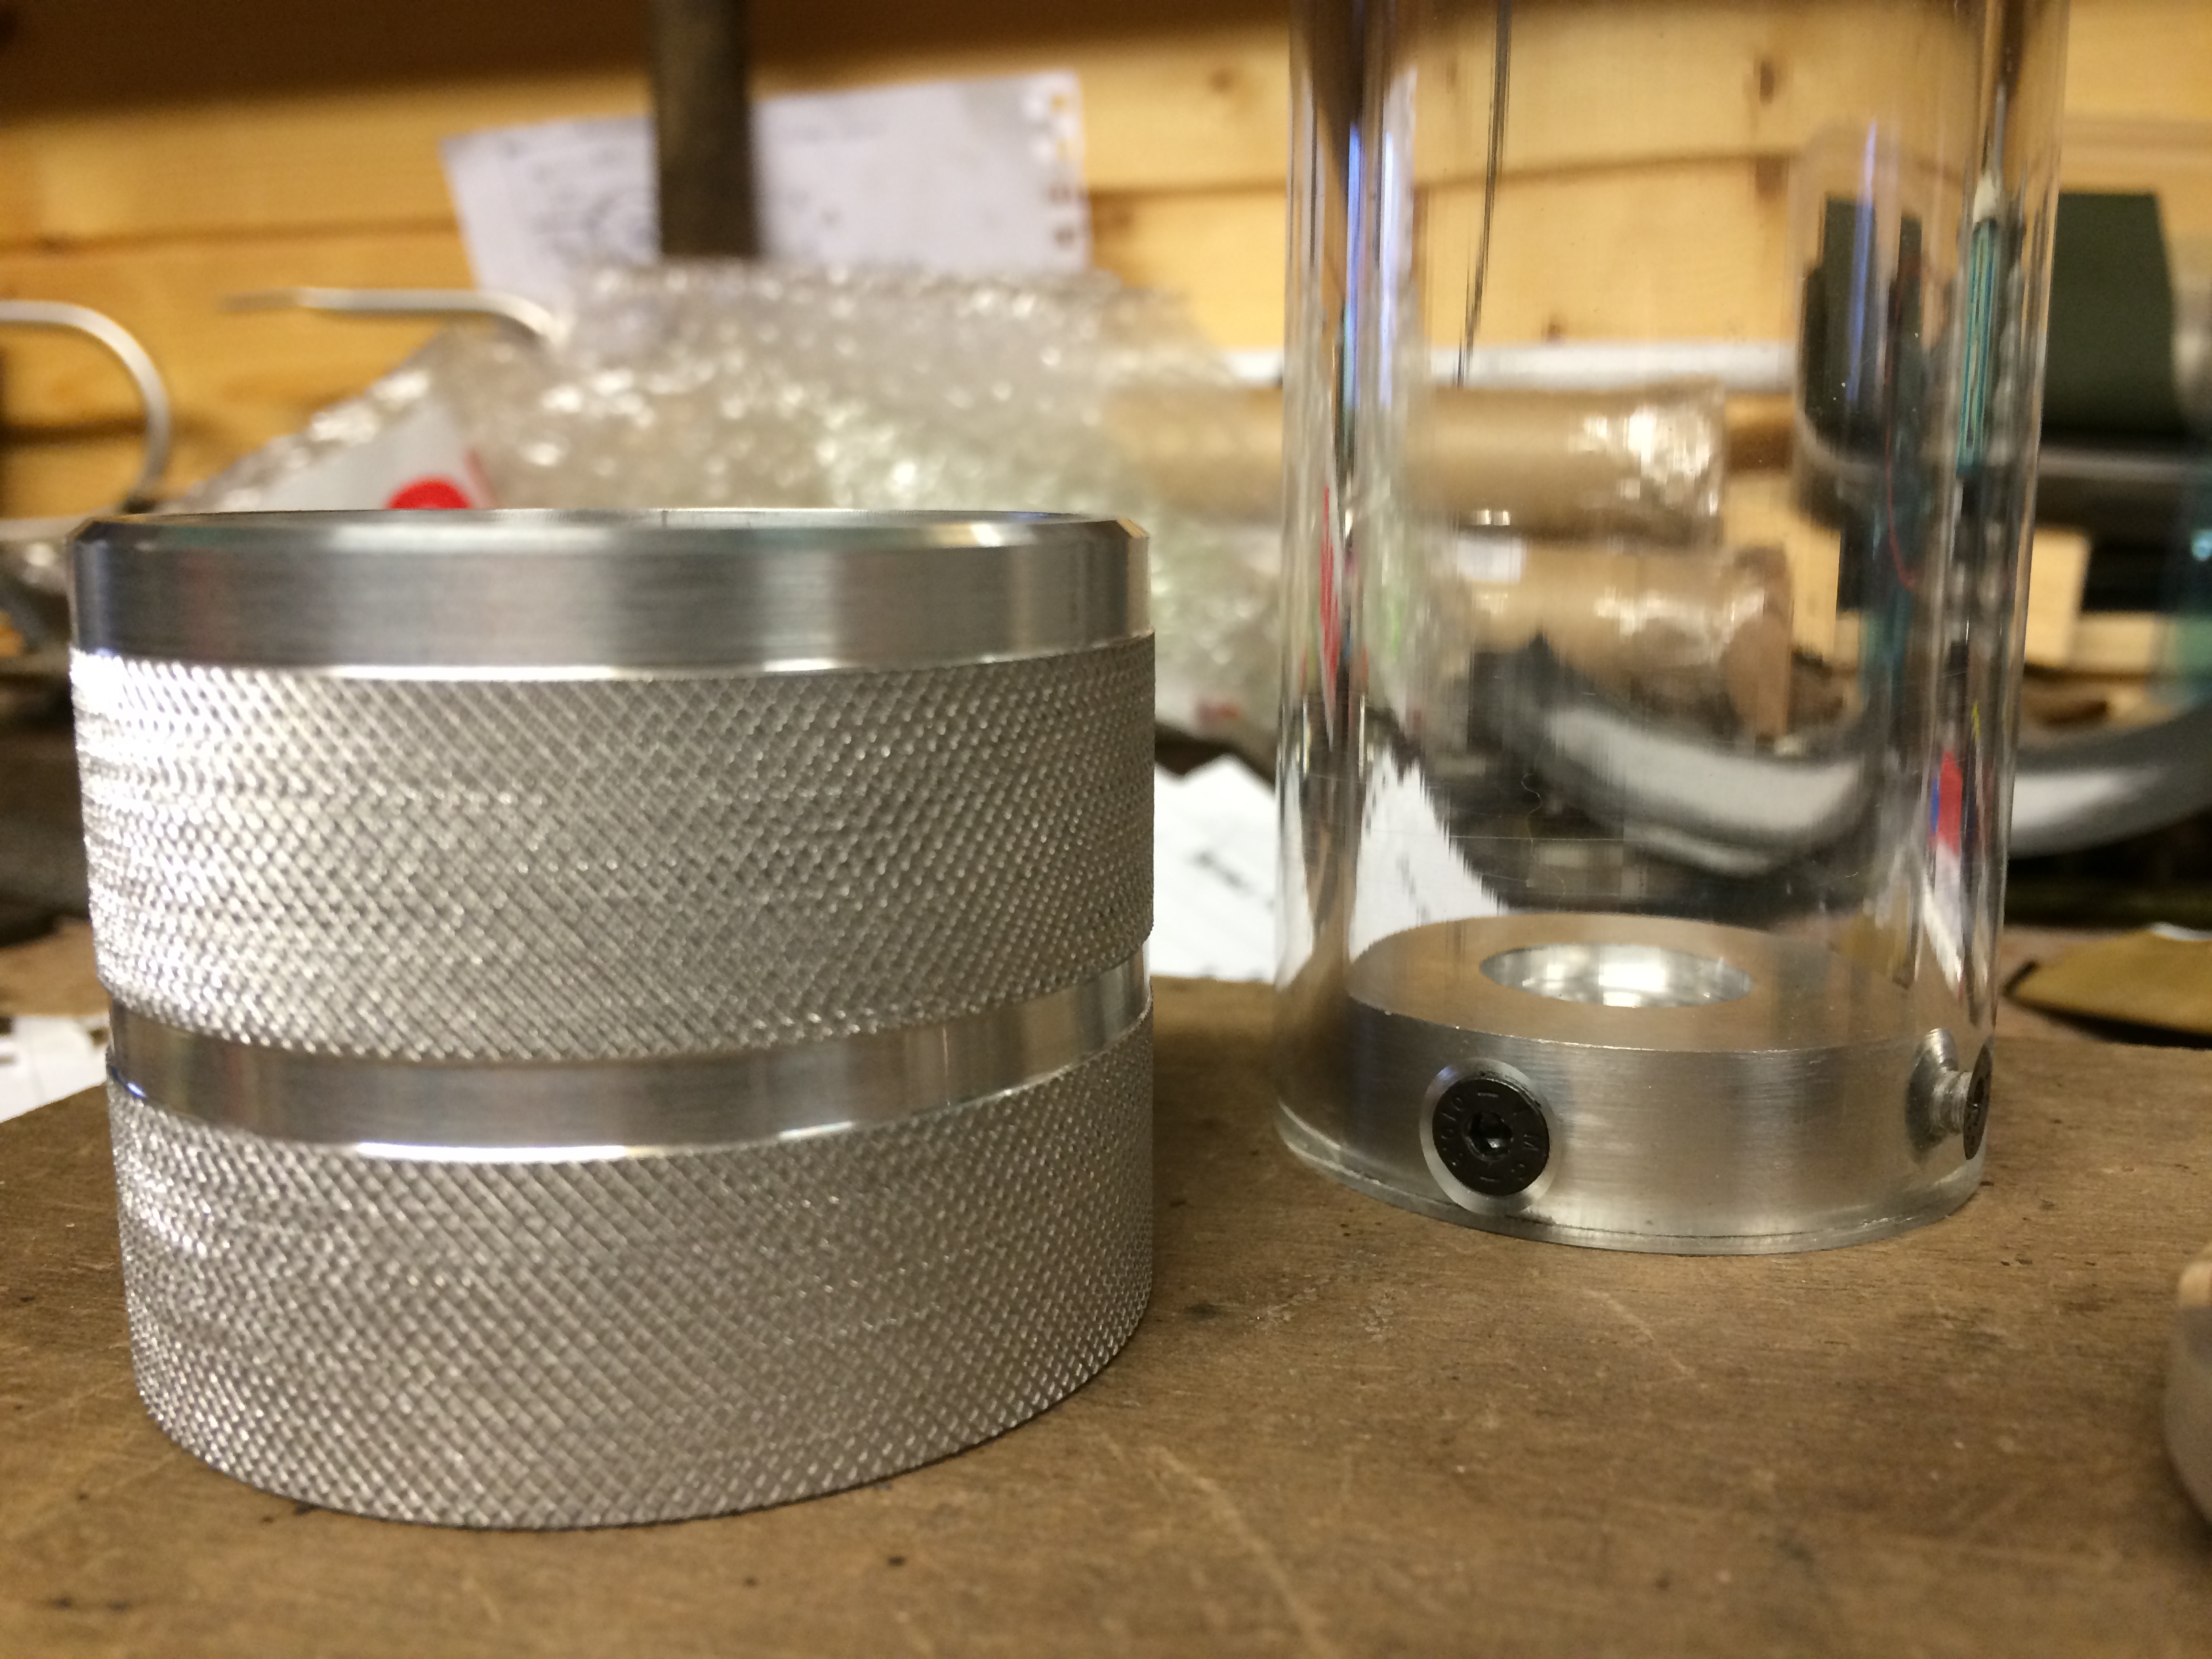


The coloured acrylic rods were held in place by two metal disks made from adjusted 41.28mm diameter aluminium bar, screwed into the clear tube, which is then attached to each of the end sections with Allen screw bolts.


A very simple circuit was inserted to check the components fit the void, consisting of a 12V battery, 5mm LED, resister and toggle switch. The LED used initially here did not provide enough light, so were later replaced with an ultra bright option.

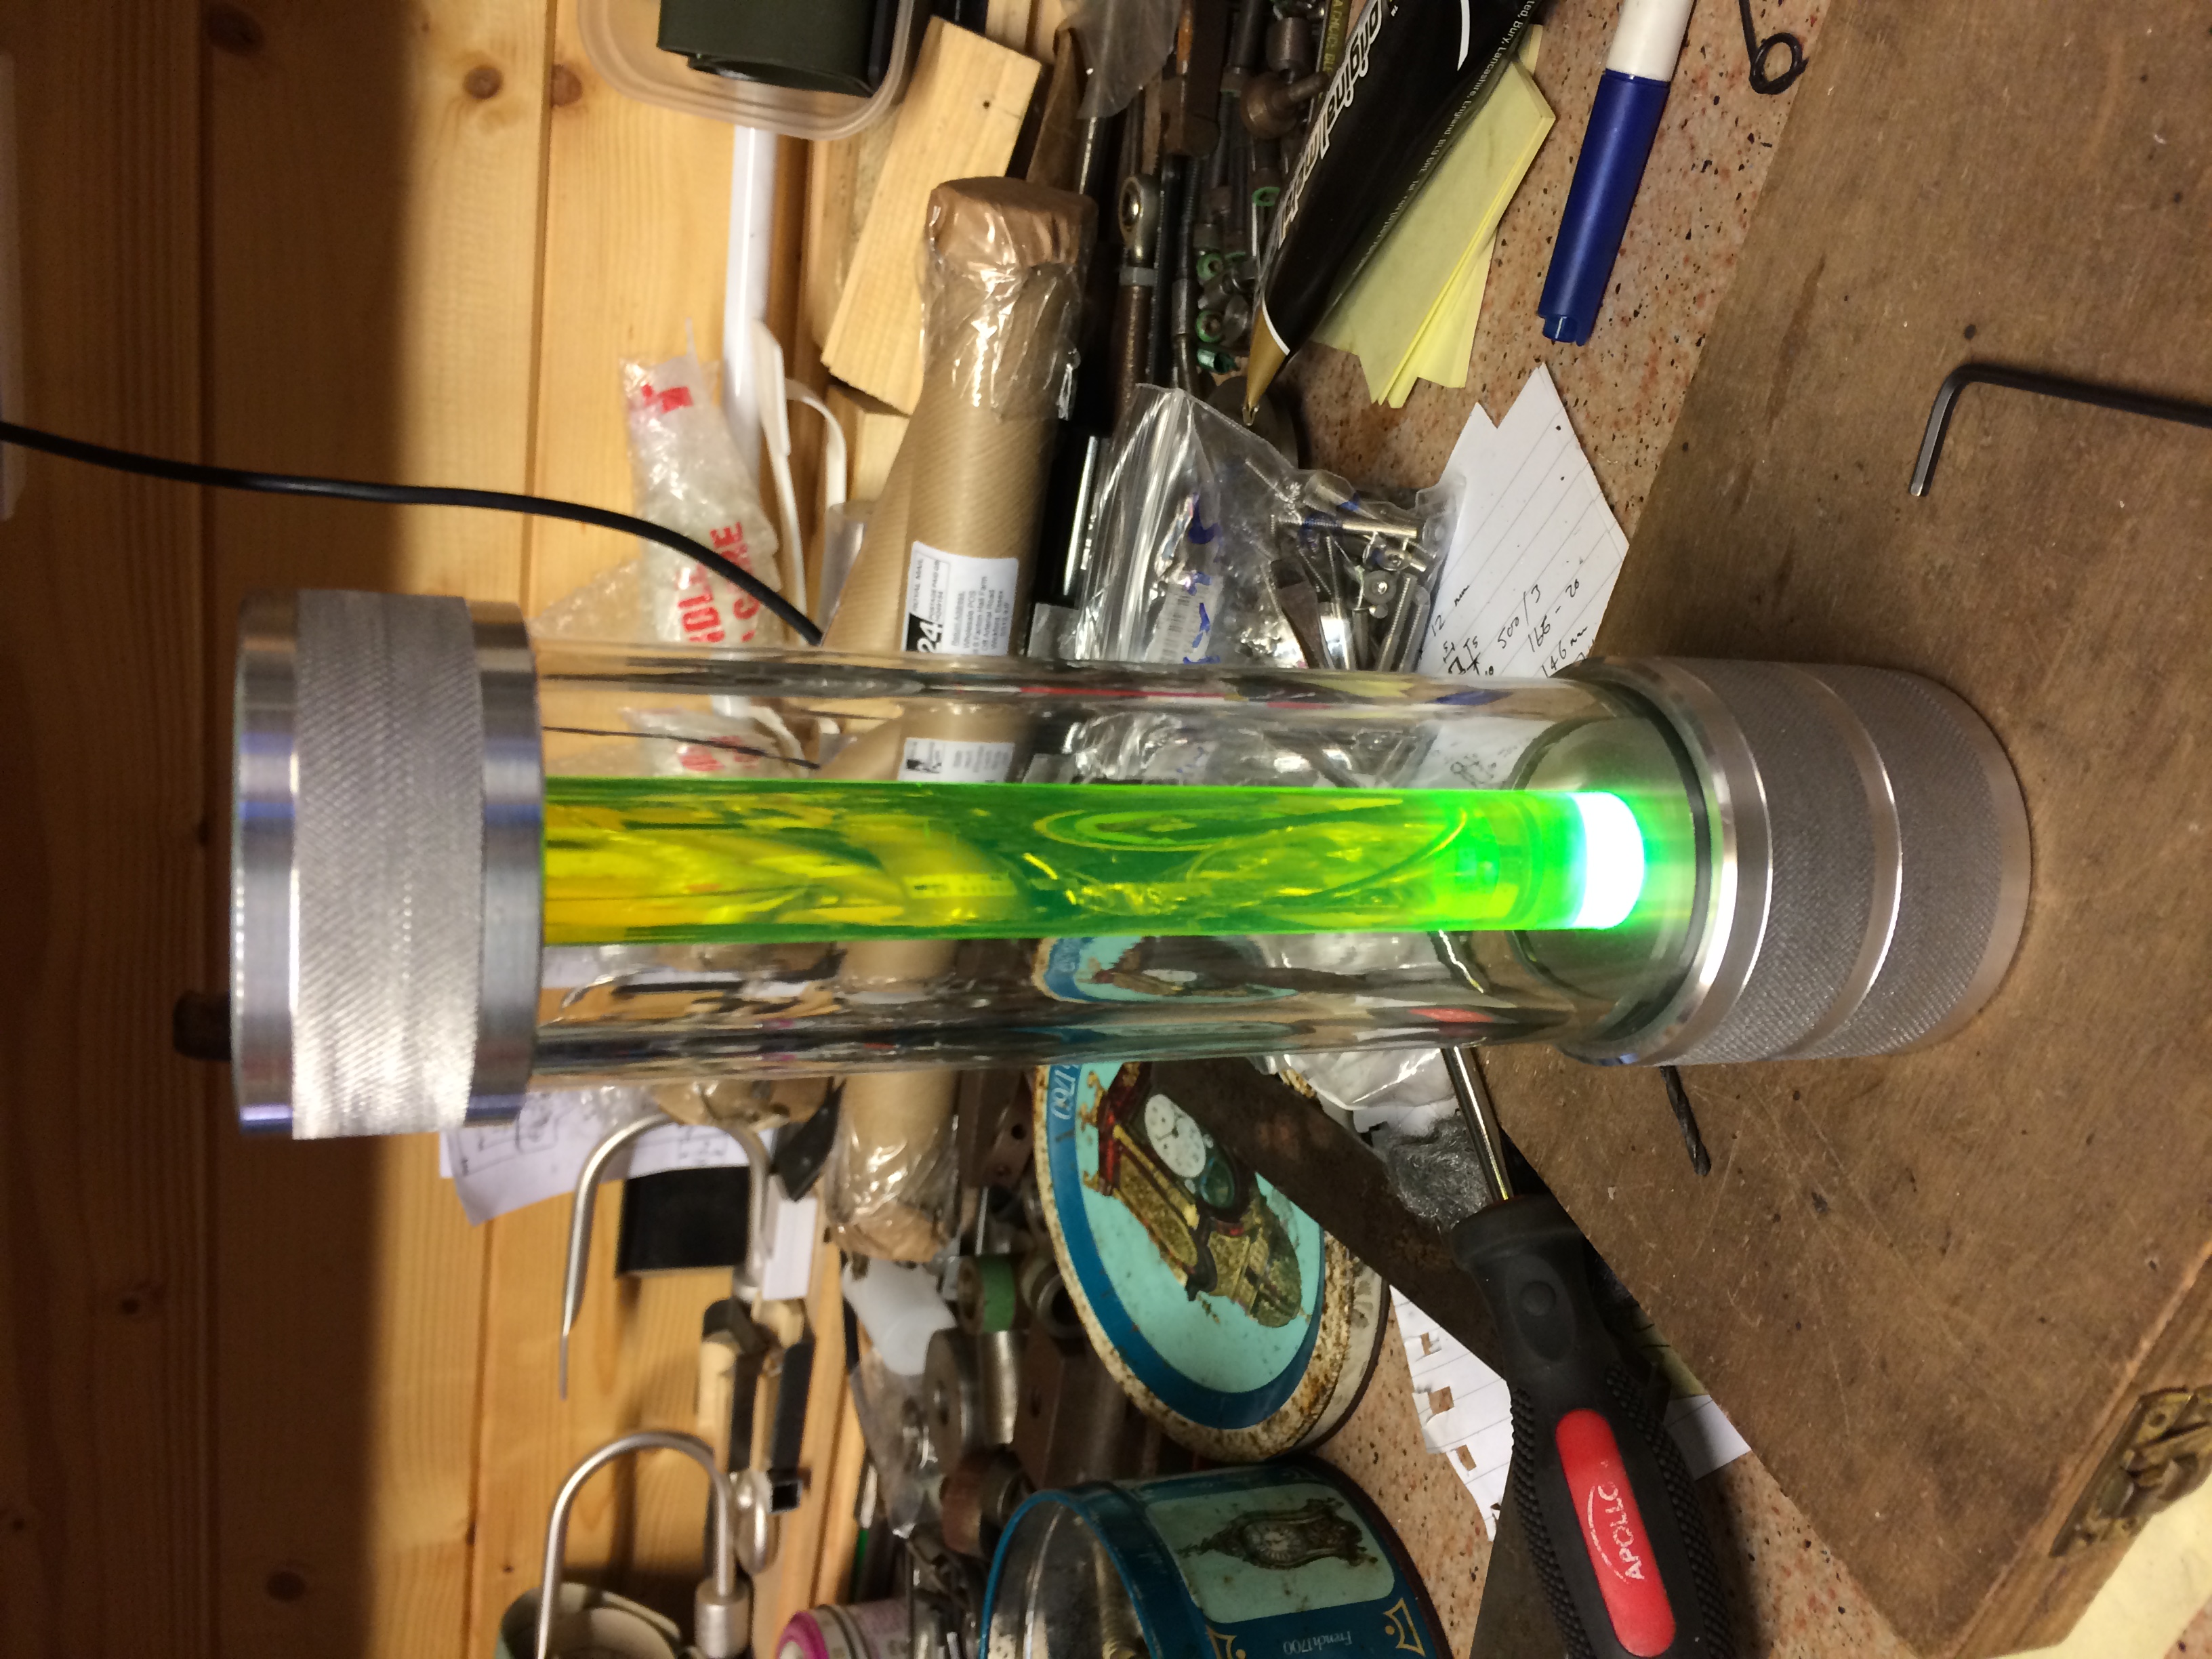
The toggle switches pictured earlier were also replaced in preference with latching push switches held in position, thus prevented the need to unscrew the bottom in order to turn on and off the LED.
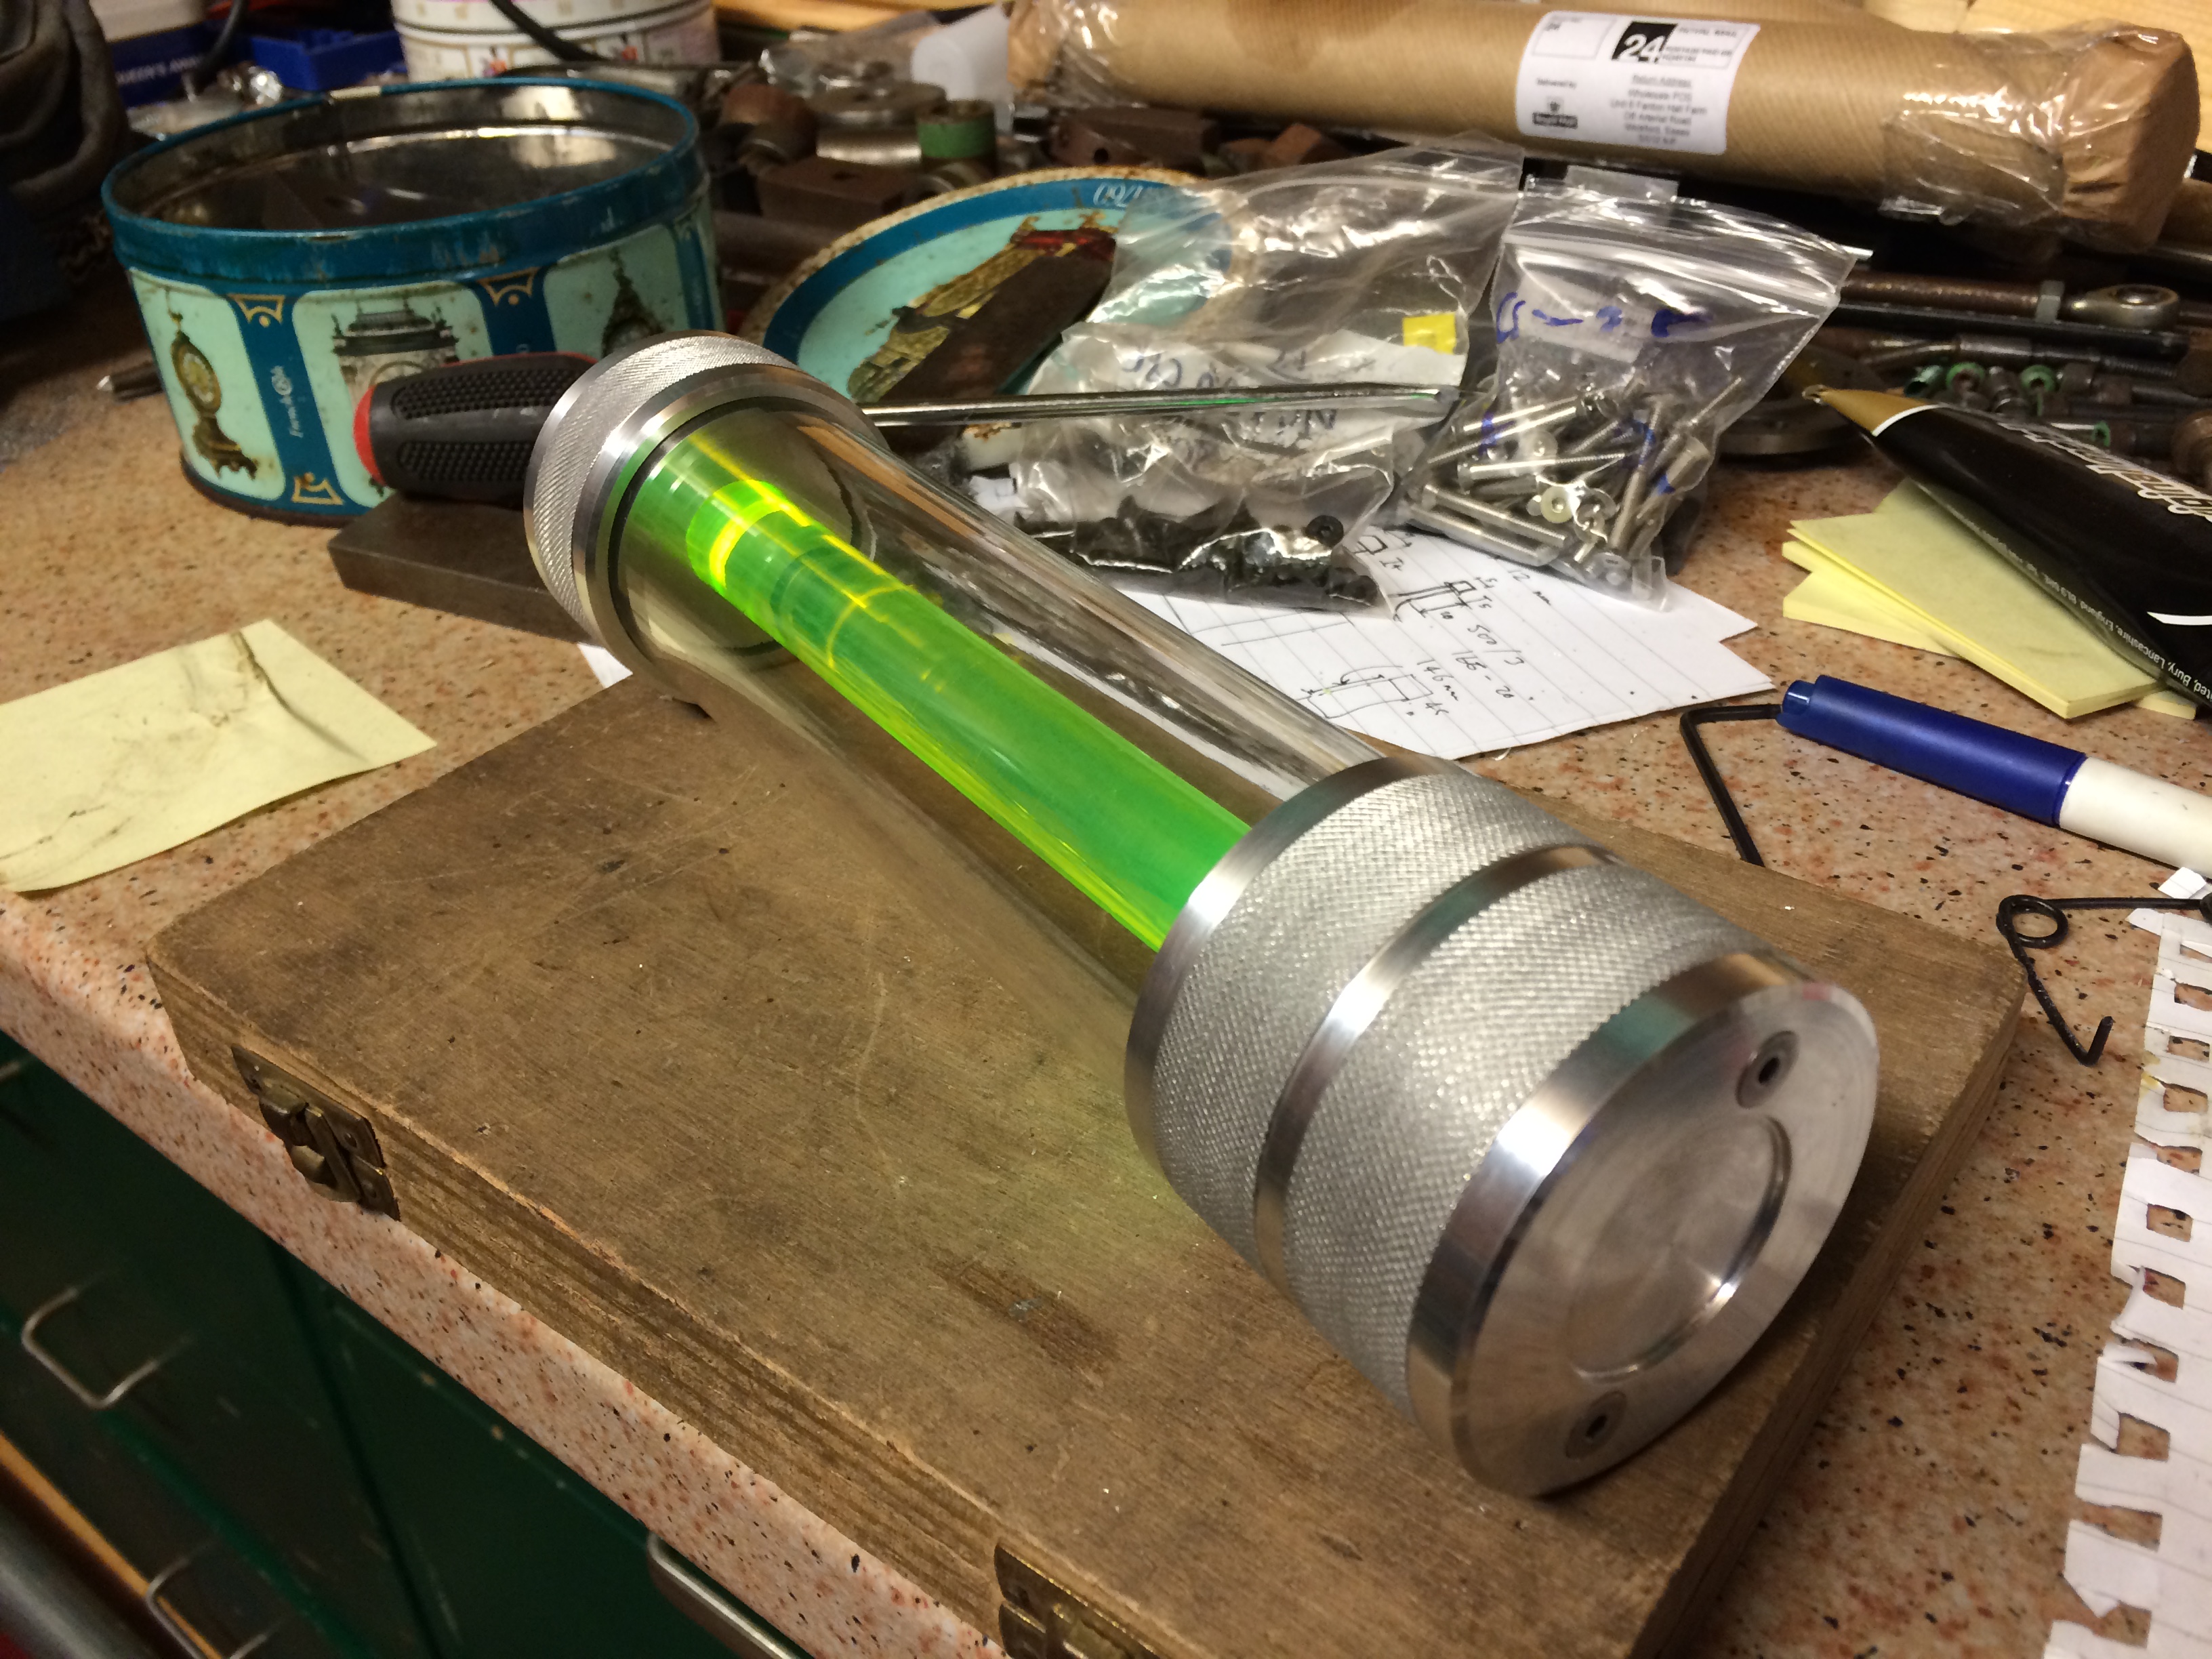
After a number of other small alterations and additions (such as RFID tags, numbering marking etc), the resulting vials turned out to be very successful. The final touch was to ensure that they were stored in a way that would prevent unnecessary damage – a briefcase and leftover foam worked great to solve that problem.


