| Qty | Description | Cost |
|---|---|---|
| 1 | Hardwood plywood 1829x607x9mm | £15.00 |
| 2 | Hardwood plywood 1829x607x12mm | £30.00 |
| 6 | Kiln-dried sawn softwood 19x32x2400mm | £5.00 |
| 6 | Chest Handle | £15.00 |
| 1 | Varnish (750ml) | £10.00 |
| 6 | Corner metal 20mm (Optional) | £50.00 |
Additionally, a range of screws and wood stain that we already had in stock were also used to produce this item.
Total Cost: ≈ £75.00 (or £125.00 including metal edging.)
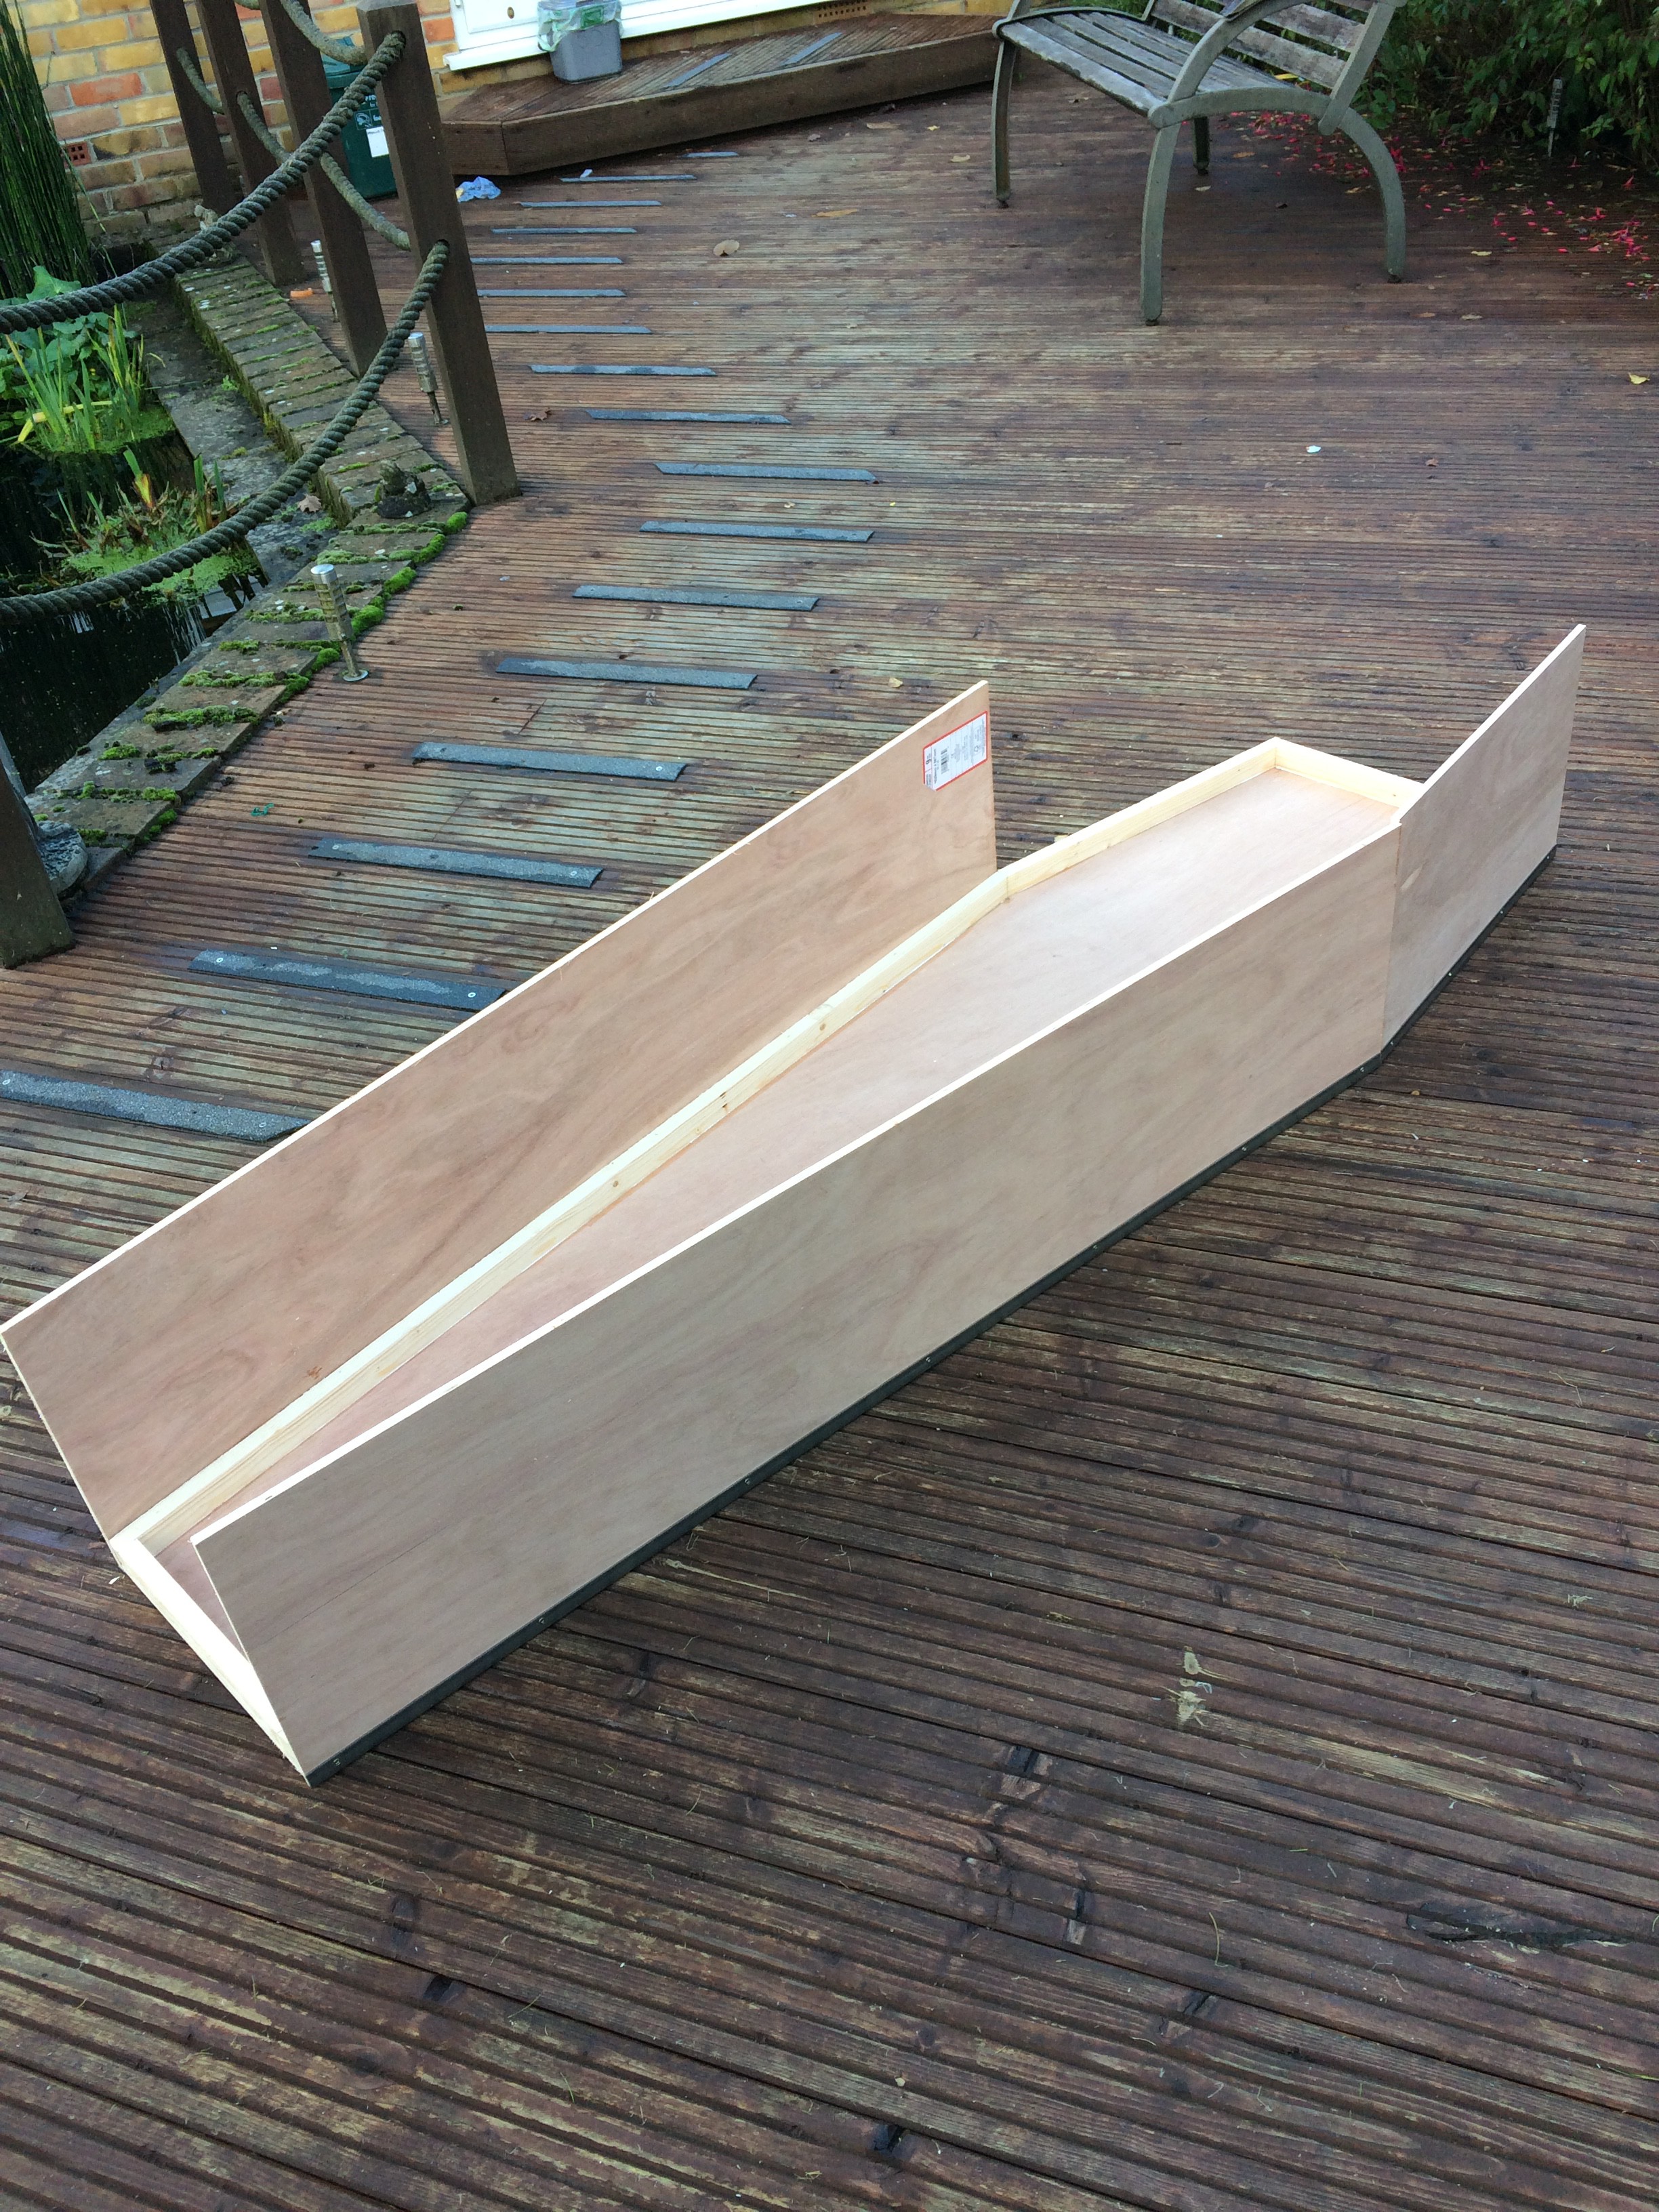
The overall size of this prop was heavily determined by the size of plywood available at the local DIY store. With the most suitable lengths available being 1829mm, this would be used as the height of the coffin and the sides would be half the width of the plywood (607mm / 2). This allowed for it to be cut down the middle and produce little waste.
Structural integrity was something to consider throughout this build so thicker plywood was chosen for the top and bottom. To try and keep it lightweight, thinner 9mm plywood was used for the sides (it was also marginally cheaper).

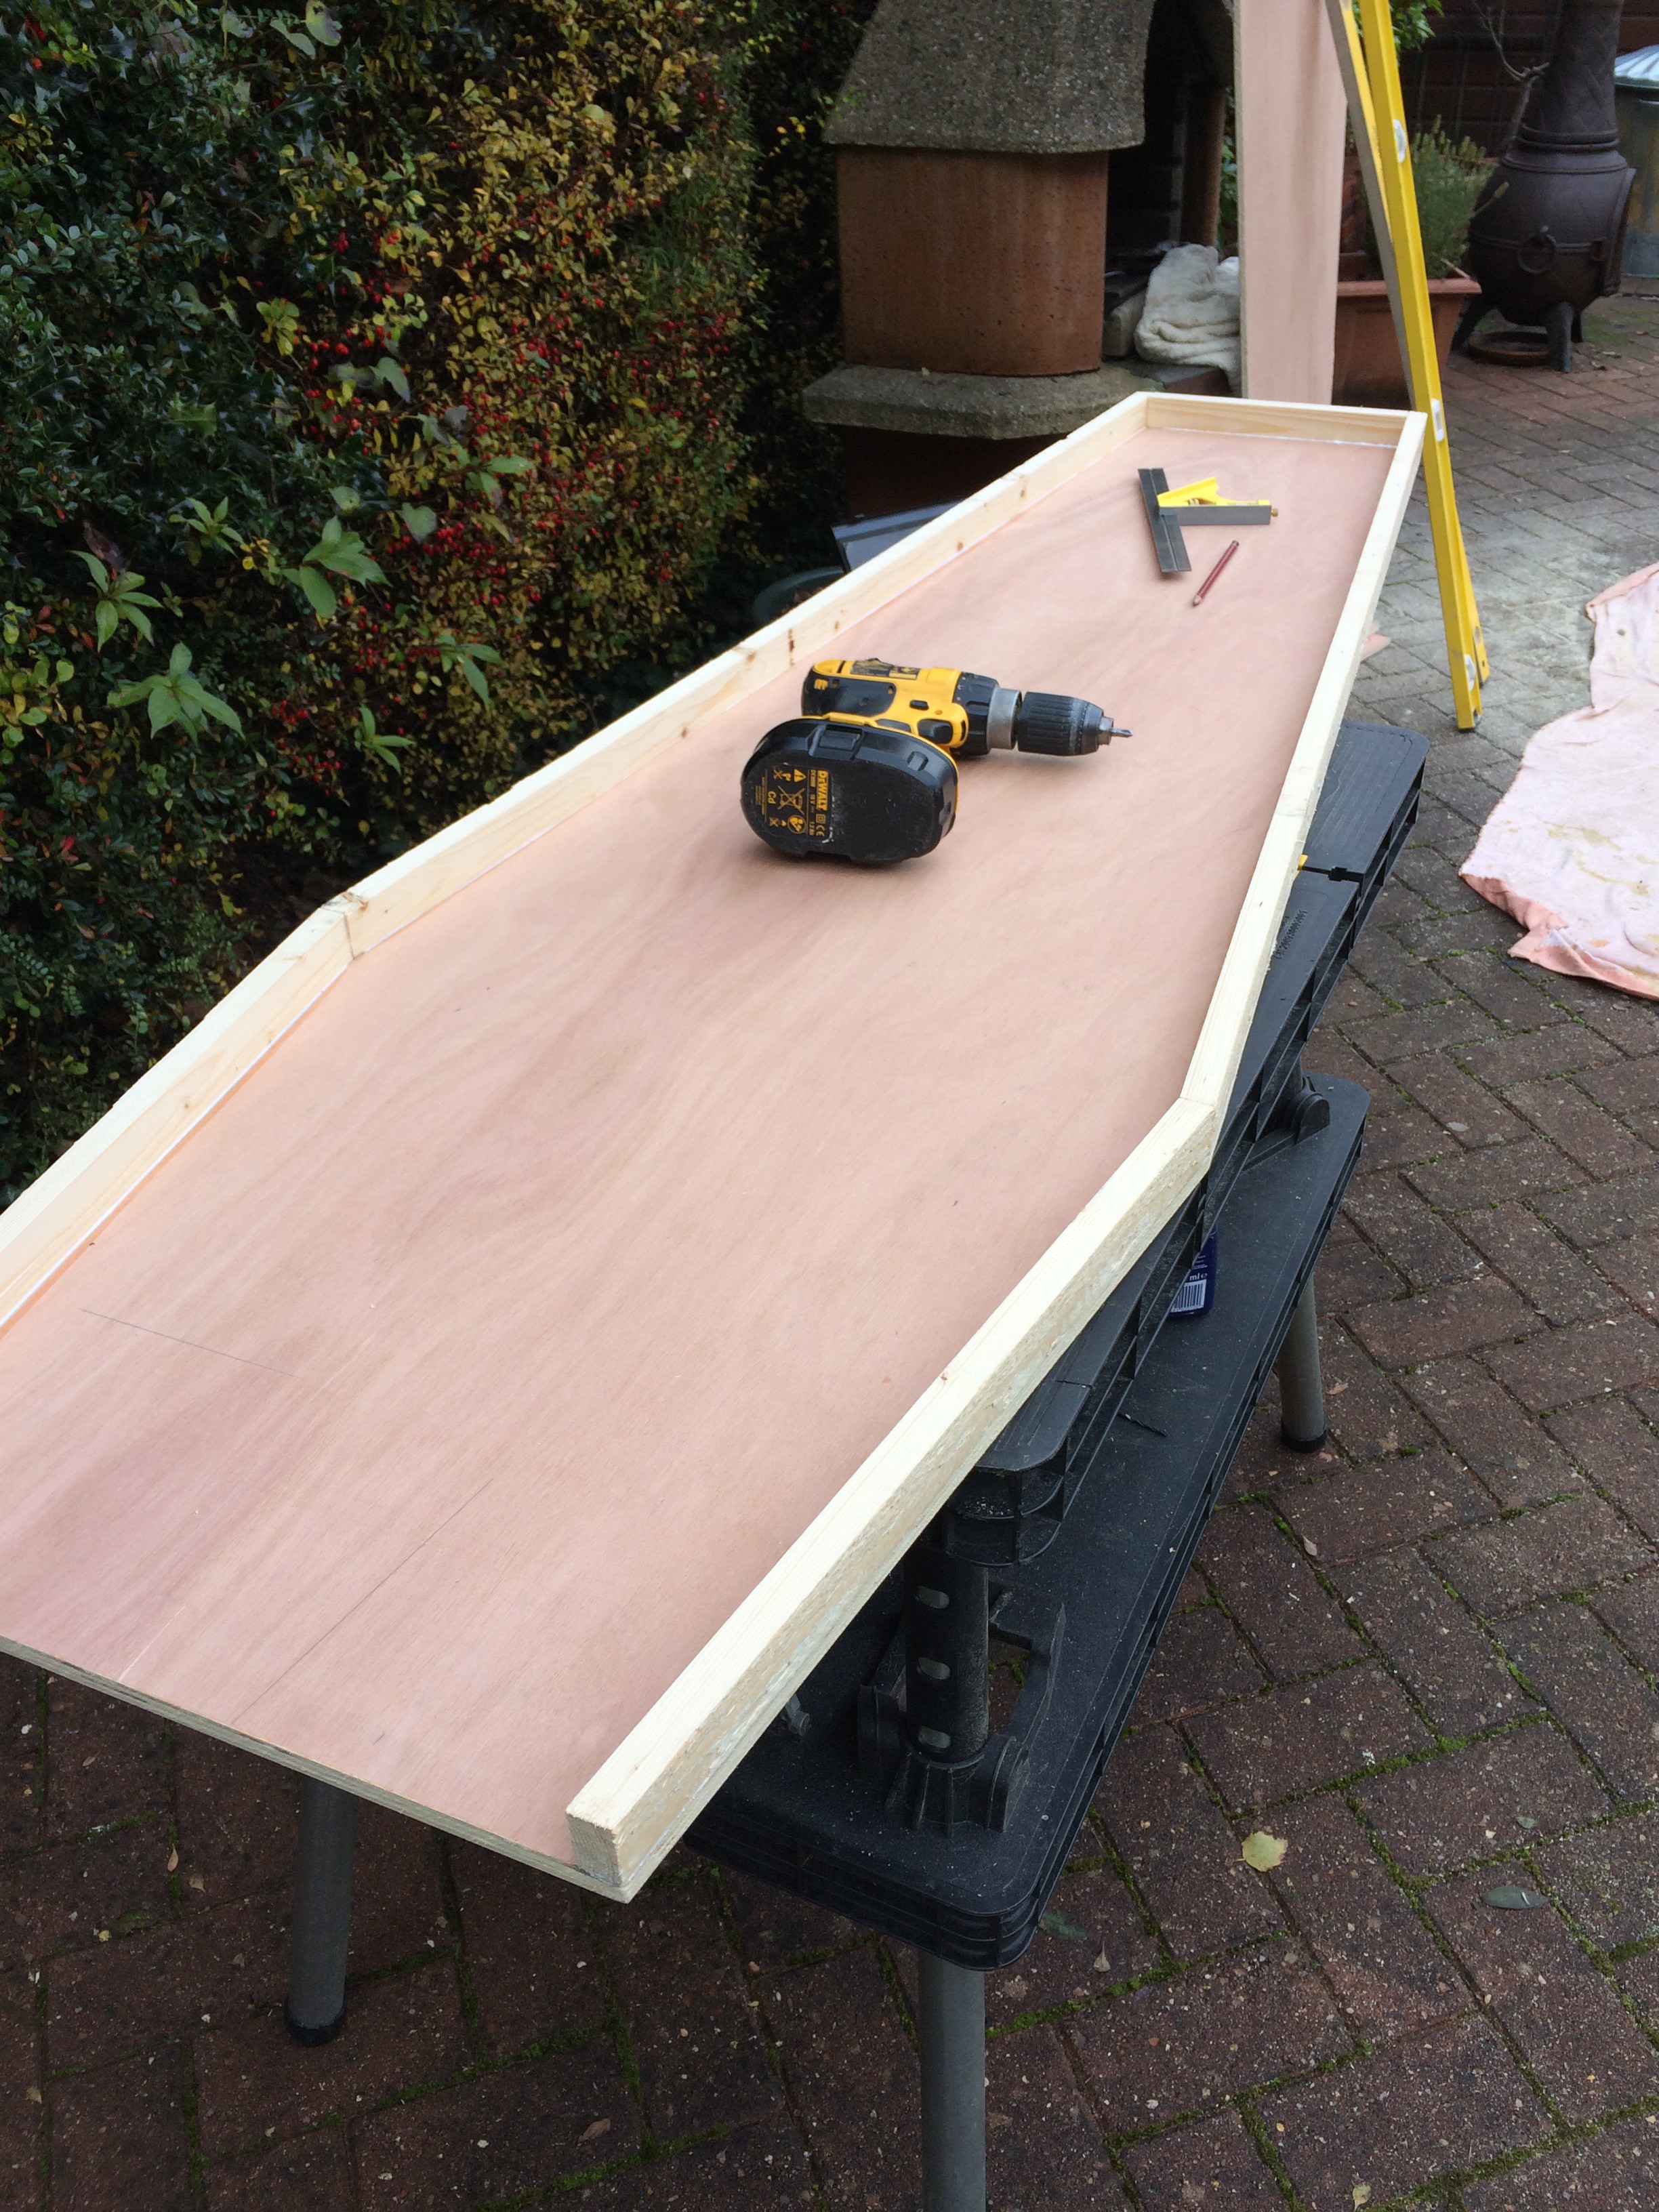
Coffins themselves, although they appear quite simple, have an awkward shape that results in a lot of angles to be cut in order for everything to fit together as neatly as possible.
Start off by cutting your base, remember that the lid will need to be slightly larger (at least the width of the wooden bead along each edge) so that it can be placed on top.
Here we began to add the metal angle to the bottom edges to see how things turned out, which is often the case when you’re pretty much making up the build as you progress through it. If you’re looking to save on the build cost, then I would suggest skipping this step, however it does add further support and solidity to the structure.
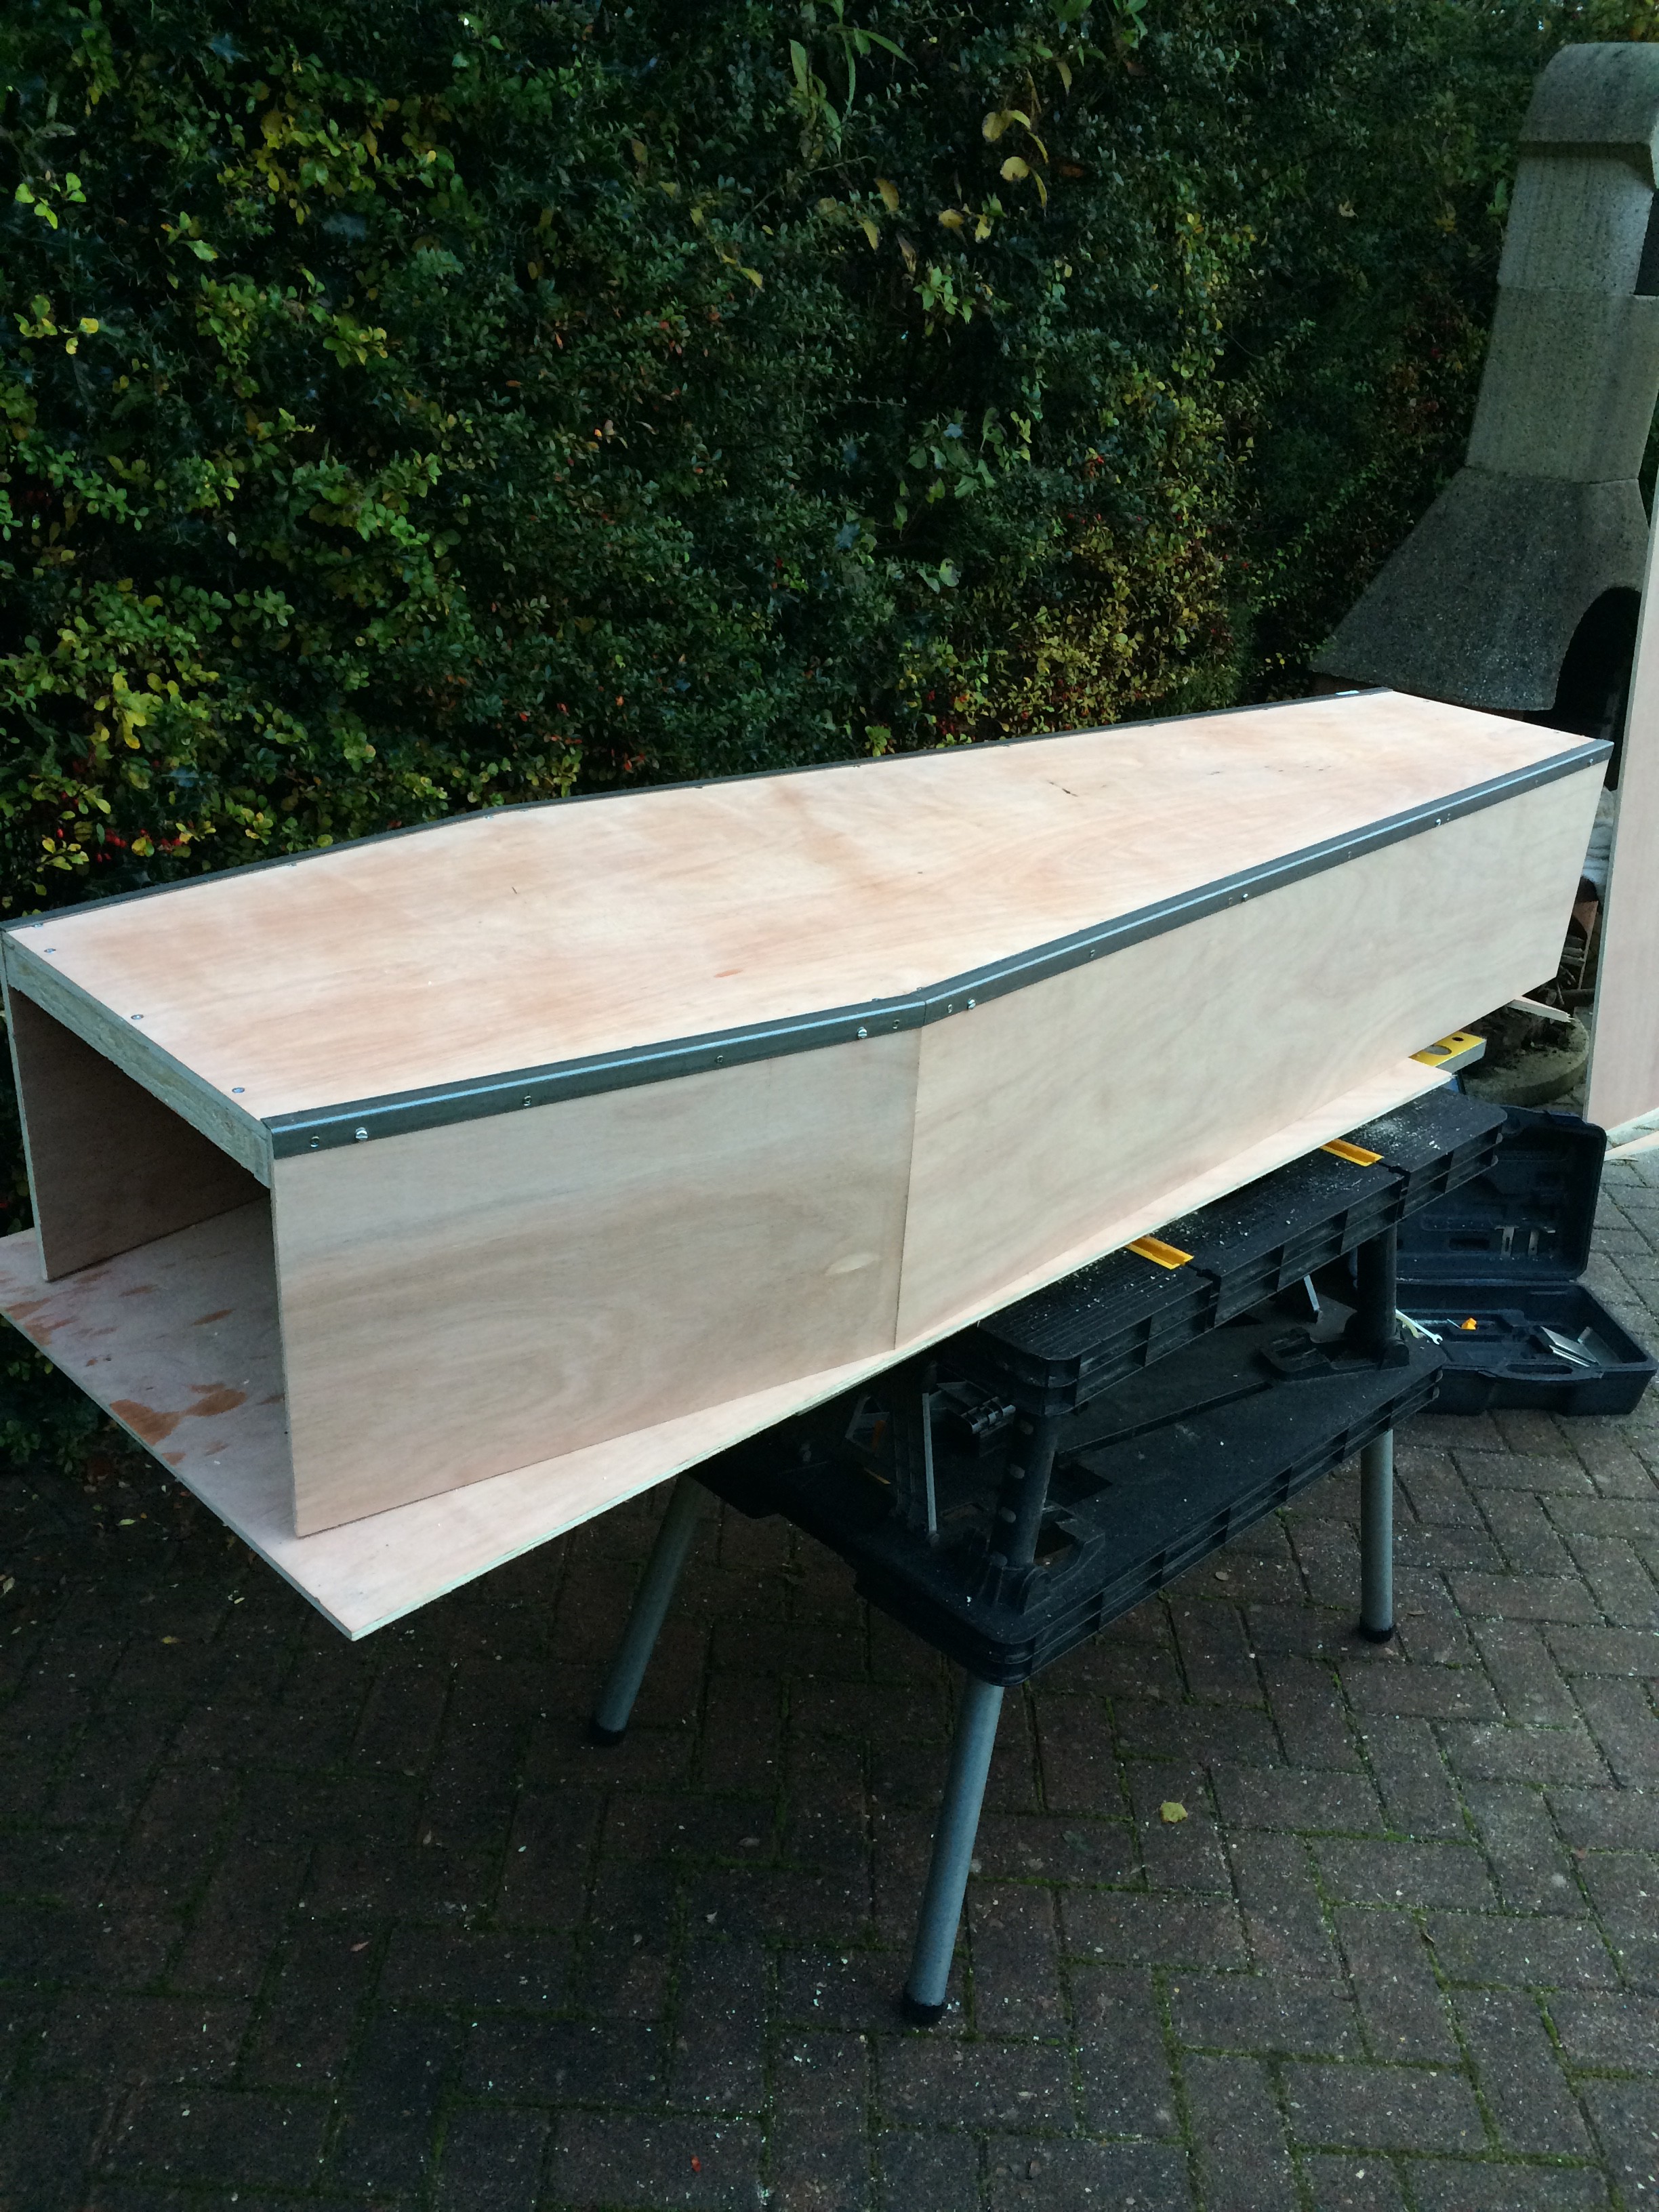

Continue putting on the remaining side panels and applying the metal edging as you go. Once all the sides are on your box will seem fairly sturdy, however it’s not until the lid goes on that it is fully supported.

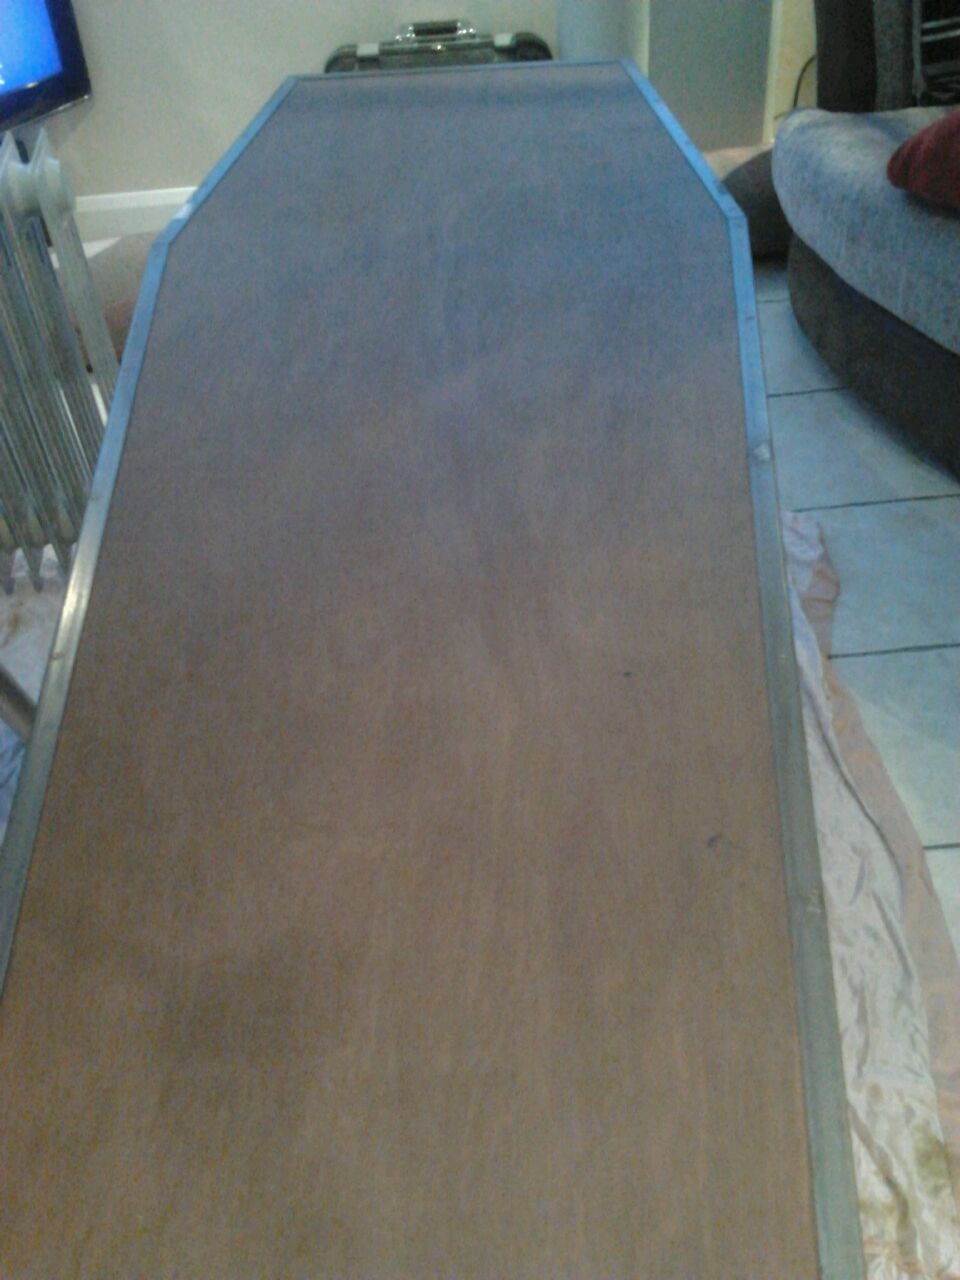
Now that you have a (hopefully) structurally sound box, it’s time to add some further detail and make it look even more coffin like. As it was possible that this prop would see outdoor use, it was stained and varnished with multiple layers, allowing each one to dry before the next was applied.
You could spend a small fortune on handles, however in this case simple black chest handles were used. They would be be strong enough to support itself while carried and don’t cost too much for six of them.

The final addition was to add a small cross to the lid. I debated having a metal plaque engraved, however the cost was too great to make it worth while.

